Converting the Hornby Class 43 HST Ringfield Motor To Use a DVD Motor

Power car 43010 showing the side body attachment tabs; a further tab is located at the rear end seen below, which is released first.
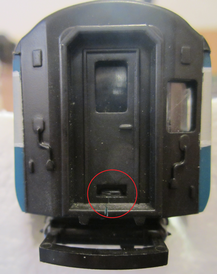
Parts Required:
Qty 1 DVD Motor 25mm diam x 12mm thick. Rating is usually 6V, but some motors can be as low as 3V or as high as 12V.
Adaptor sleeve to centralise DVD motor in the Ringfield housing -
Preparation:
Unclip the chassis frame from the body of the car by easing out the rear tab shown above with a slim flat bladed screwdriver then springing the body sides apart and removing the rear of the chassis down and out whilst pivoting about the front (pointy) end.
The conversion shows a DCC model but the method is suitable for DC models also.
Conversion:
Disconnect all wiring from the motor. I.e. a wire at each motor brush and a wire to the motor housing by way of a small spade connector. Note in particular for later exactly how this spade connector fits onto the motor housing lug.
Unclip the motor bogie frame from the chassis frame by pressing the clip shown below inwards to allow the bogie to drop out of the chassis frame.
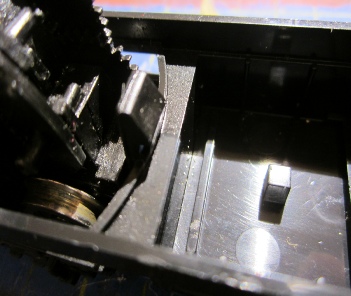
Motor bogie modifications:
Totally dismantle the motor bogie by releasing the motor housing from the bogie frame using a flat lever to disengage the lug at one end, seen at the top of the picture below. Next remove the geared wheels to release the axles.
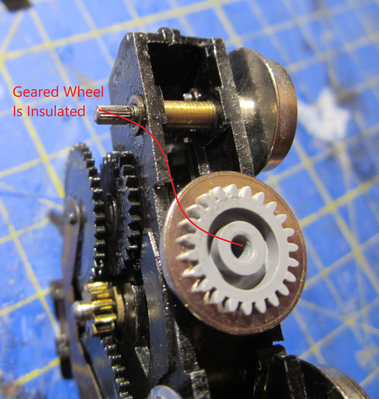
Lift the gear retaining clip legs clear of the gear pins and slide out. Remove and clean all the gears, noting their positions for later. Pry off the faceplate recovering the springs and brushes. To remove the armature it is necessary to drive the pinion gear carefully off the motor shaft. Remove the magnet, then clean up the motor housing, which is likely to be oily from over-
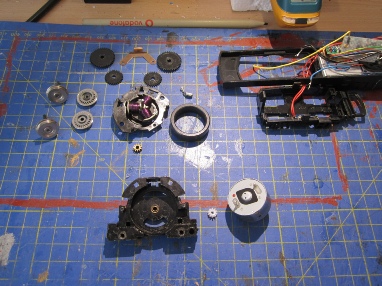
Carefully drive out the centre bearing from the motor housing using a suitable punch.
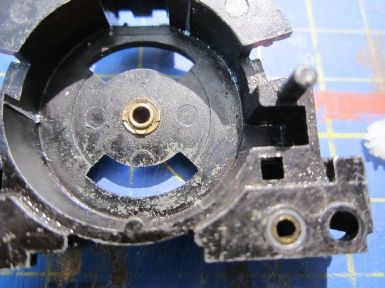
The motor centre boss on my unit was 6.4 mm diameter, and the Ringfield housing once the bearing was removed was only 5.04 mm diameter, therefore I had to open up the housing to suit, initially using a 6 mm broach then a hand file.
 Next was to make up a sleeve to ensure the DVD motor was held central to the housing. In my case I used a simple cardboard tube (ex-
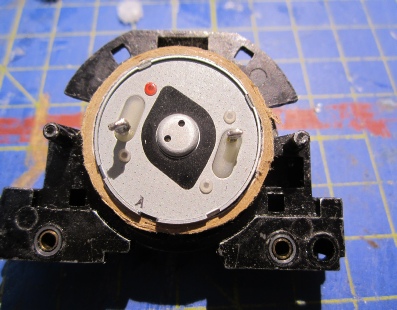
Reassemble the gears to the motor housing, including the new pinion. The old pinion may be used but will require an adaptor sleeve to mate with the new motor shaft. When reassembling the wheels check the back to back dimension with a gauge. To ensure gear mesh is retained make up small shim washers to fit on the non-
Re-
Finally it should look something like this. Note the use of blue and yellow wires for the motor connections as I didn’t have any orange and grey wire to match DCC colour code convention.
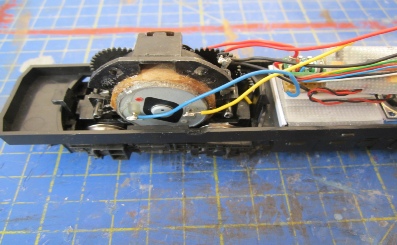
Check the installation works on track and the new motor runs the correct way for the selected direction on your controller. If wrong simply reverse the motor brush wires.
Refit the loco body and retest.
Rob Honnor. Oct 2018 v1.0 Class 43 HST-
Hornby R 069 / R070 -
This article details conversion of the early Hornby R 069 Class 253/43 HST model to use a DVD can motor.
Reference should be made to Hornby Service Sheets (SS):
SS108 and SS205 -
SS106 -
ROB’S RAILS 
Article 11 -
© Rob’s Rails 2018